Why would you want to braid your wrap? Well, the act of looping and pulling helps to "break it in." You'll notice the more you braid, the tighter your braid gets....proof your wrap is softening up!
STEP 1: Tie a knot at one end that pinches a loop

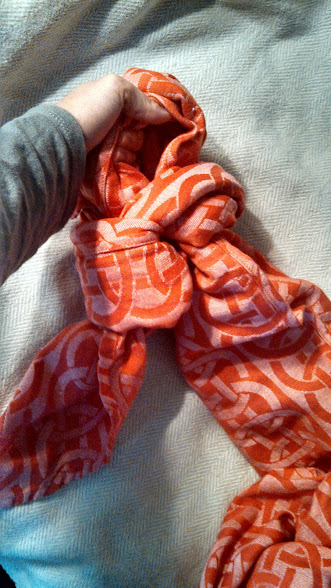
STEP 2: Stick your hand through the loop you just made. Ideally you want the loop to be *just* big enough for your fisted hand to move through. No bigger, no smaller. If you're loop is WAY off, adjust, otherwise, leave it and try for a better size next time because it's not that vital. Now, stick your hand through the loop.

STEP 3: Grab the long tail of your wrap. Keep a hold of it, and pull your hand back out of the loop. (Sorry for the blurry photos.)

The next photo shows the new "loop" you'll have made by pulling only part of the long tail through.
STEP 4: Put your hand through the new loop you just formed, grab the long tail, and repeat until you run out of wrap!


The end of the wrap is just sort of tucked under the braid at the bottom in this photo. To unbraid, just grab that loose end and pull! The whole thing will come undone.
One last photo....the wrap on the left is a barely broken-in size 4. The one on the right is a very broken in size 6. Due to fiber content, the wrap on the left will never make a braid as small and tight as the one on the right, but it will make a tighter braid than pictured and will start to lay flatter when braided.

No comments:
Post a Comment