CHEEP!
CHEEP!
We are now the proud owners of four little chicks. Fluffy, yellow, adorable little chicks!
 |
| 16 March 2013: Our four girls on their way home. Three days old. |
We've been mulling over the ideas of raising chickens for awhile. At our old house, it was legal to own three hens, but we really didn't have the room in our tiny backyard for 200 lbs of dog and a coop. Since we've moved to outside city limits, we're pretty much unregulated by the county. This is our first full spring/summer cycle at the 1240 house so we've made the leap!
On Saturday (16 March 2013) we bought four Russian Orloff chicks from Farmland in Silverdale. (Sidenote: I sort of detest that store for the way they treat their puppies, but it was our only option for instant chicken gratification. I wasn't completely comfortable with mail-order chicks.)
Since we are crunchy hippies, we brought the birds home, released them into our house so they'd be "free range" and that's that. Just kidding.
We learned (thank you, Google!) that they need a safe, warm place to live for the first 6-8 weeks. Most people use a "biddy" box or a "brooder." They're both essentially the same thing. You want a space for the babies to run around, eat, drink, sleep, poop, and be warm.
The container: Most blogs/how-tos suggest 2 square feet per chick and walls at least a foot high. We opted for the biggest clear, plastic tub sold at Walmart. It is 95qts and was $11 with a lid. We have since learned that the girls will be able to hop out of a tub this short within a few weeks without something to keep them in or a taller box. P.S. you will not be using the lid or you risk suffocating the chickens in their own gasses.
 |
| This bin is on amazon.com and costs double what we paid at Walmart, but you get the idea. |
 |
| Sample of hardware mesh |
The bedding: You don't want to use anything except for pine bedding. Newspaper is too slippery and can cause major leg issues in your chickens. Almost all other types of bedding are toxic if ingested and/or inhaled. We found a little package (meant for rodent cages) at Walmart for $3. It took about a tenth of the package to put down a 2-inch bed for the birds and it needs to be changed out every few days.

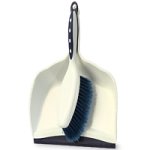
Bedding sweeper: I grabbed a small handbroom and dustpan set on a whim at Walmart. It was a few dollars and will make getting the bedding out of the bin easy.
Food dish and food: We found a bird feeder at Goodwill for a few dollars. However, the feed store sells perfect little feeders for $2. We also got medicated starter feed at Farmland. The 25lb bag was about $13 and I don't have a good feel for how long it will last. It seems the chicks are currently eating about a half cup a day, total. You will also need somewhere to store the food because it is perishable. We threw the whole bag into a big plastic bin we had sitting around in the garage, but a metal trash can with a lid would work. You could also portion it up into smaller containers like old coffee cans. I definitely recommend that you don't skimp on a dedicated chicken or bird feeder because young chicks have a hard time distinguishing feed from their bedding. If they eat too much bedding, they can get sick. If you try to feed them in an open fashion, they will probably just poop in their food and kick it all over.
 |
| You fill a jar full of feed and screw it in upside down. The birds eat out of the holes but can't poop in their feed. Silly birds. |
Waterer: We bought the waterer base at Farmland for $2. You fill a mason jar, screw the waterer on it, and then invert the whole thing. Similar to the feeder, you can't just put an open thing of water in the box. They will find a way to poop in it and then drown. If you don't want to buy a dedicated waterer, you can use a small, shallow dish (like a peanut butter jar lid) and put glass aquarium rocks in it. It will leave enough space for them to drink but not enough for them to drown. They will still poop in it, however. Also, you want to elevate the waterer by half an inch or so because they will kick too much bedding in it otherwise. We put ours up on a wood scrap we found in the garage.
 |
| You fill a mason jar with water and invert it on this thing so they don't die of thirst. |
Heat source: Mother nature planned for the chicks to stay warm by having a mother hen to run under. Well we don't have that. Instead, we got a heat lamp base from the hardware section at Walmart for $9 and a 100-watt incandescent bulb. We put a board across the top of the bin and clamped the lamp on it. It works like a charm. Depending on where you plan to keep your box, don't forget an extension cord! NOTE: The heat lamp is a FIRE HAZARD. Please make sure it is secured well and that the cord is tucked away from kids, etc. SECOND NOTE: As your chicks grow, they will be capable of hopping up to roost on things. I have read several accounts of heat lamps being pulled down because the chicks decided the power cord would make a lovely roost. As soon as you see them start to roost on things, you need to secure the lamp and the cord in two places.
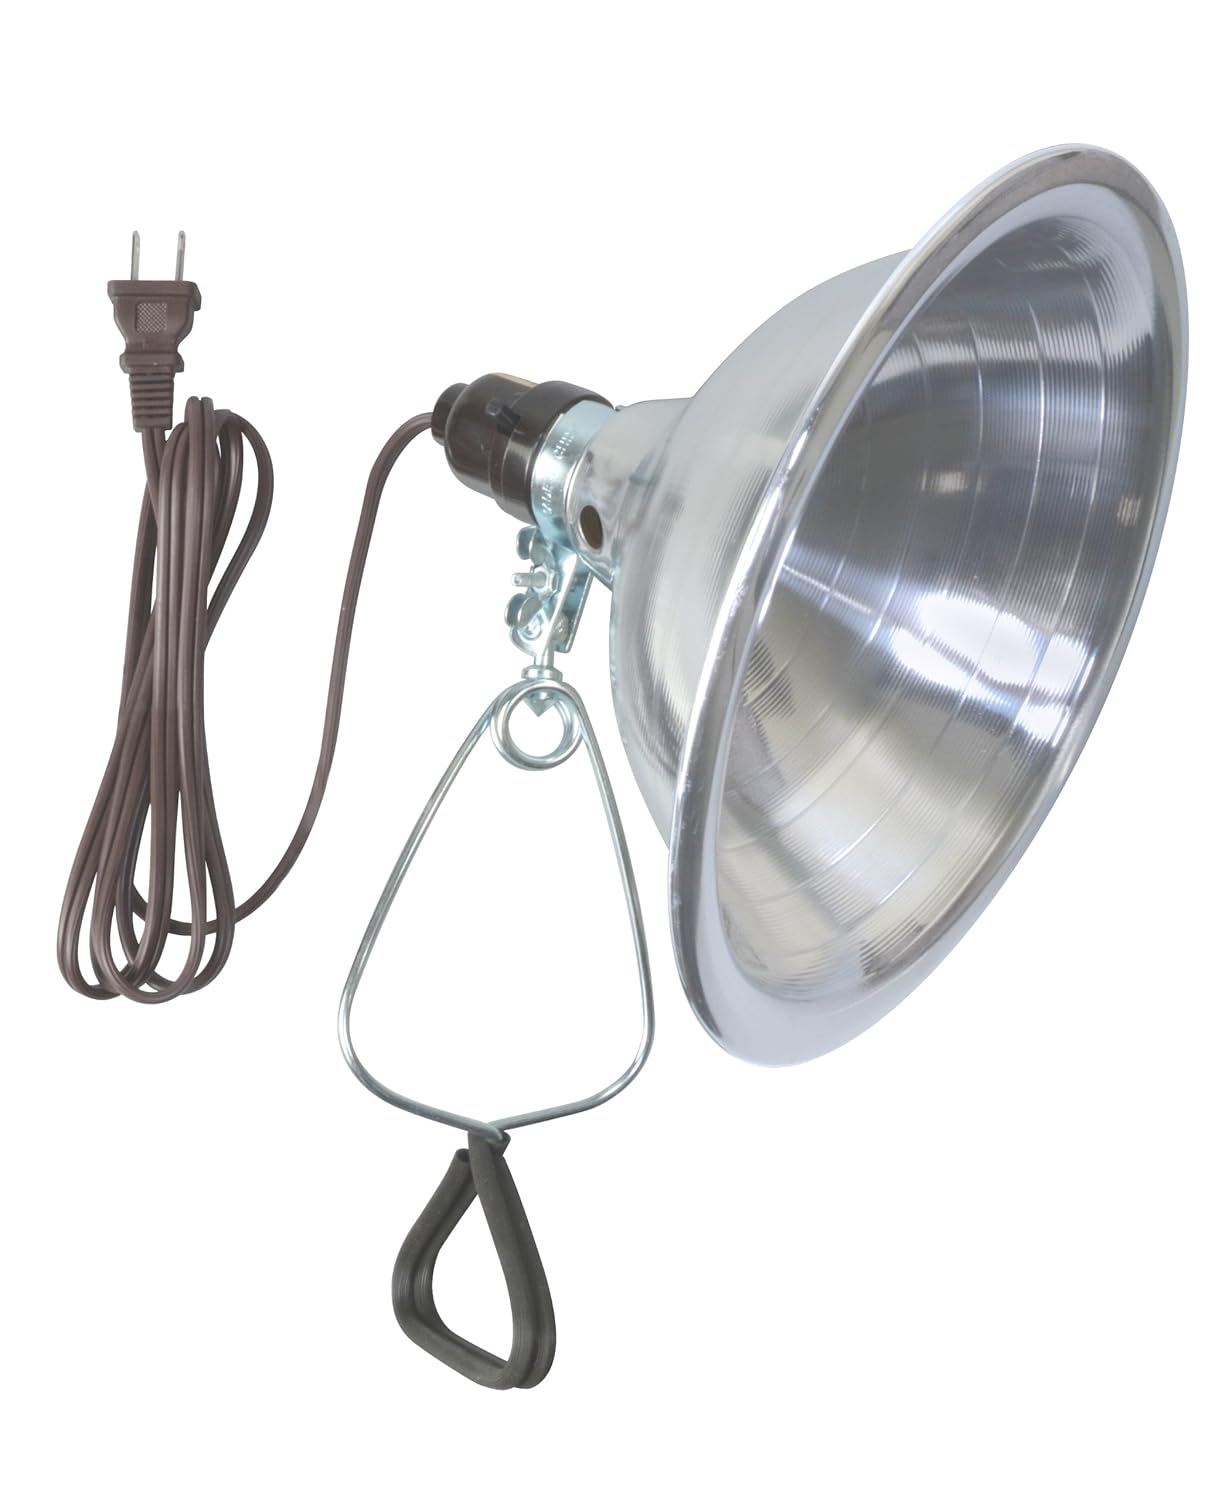 |
| Heat lamp fixture |
The Set Up: Wash your bin with warm water and mild soap. Rinse well, dry, and spread a 2-inch layer of pine bedding. Wash the waterer and feeder with warm water and mild soap, rinse, dry and fill. Place them in one end of the bin. Add a bulb to your fixture and decide how to hang it over the other end of the bin. The chicks actually need to keep very warm the first few weeks so you'll find clamping it to a board that spans the top of the bin will work the best.
Is it working? Add your chicks gently to the bin and leave them alone to acclimate. Sit back and observe.
- Observe that each chick drinks water and eats feed. Most of them won't eat right away until they calm down and they are much like lemmings: what one does, the others do out of curiosity. If they don't start drinking, dip the very tip of the calmest bird's beak into the water then let her go. If they don't start eating, gently tap on the base of the feeder. They will be drawn to this noise and should find the feed in no time.
- Wait until they all calm down and see where they group. If they huddle together directly under your lamp, they are cold and you need to find a way to increase the heat. Either lower the lamp or put a higher wattage bulb in. Make sure there are no drafts over the bin. If they "pant" and settle down far away from the lamp, they are too warm. Move the lamp up or reduce the wattage. Make small changes and give them 30-40 minutes to change their behavior.
- Birds who are happy with the temperature with snuggle with each other on the perimeter of the lamp "halo" and will happily wander away from the lamp for food and water.
- Don't be alarmed if your chicks fall asleep standing up and start to fall over or if they fall asleep on their faces. They're silly babies and they're alright.
 |
| Silly girl sleeping on her chin while her sister contemplates her reflection in the waterer. (3 days old.) |
 |
| Getting used to their lovely home! Note the two on the left are sleeping on the edge of the lamp "halo" which indicates they have a good temperature. (3 days old.) |
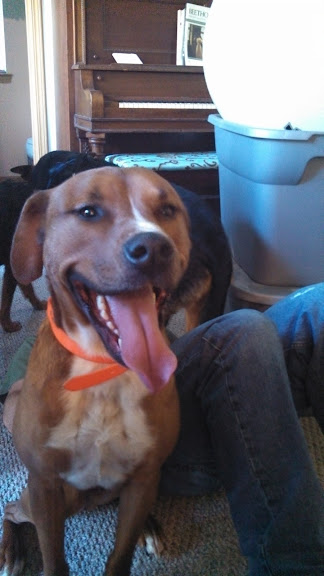 |
| Barley was VERY excited about the birds...he's going to have to learn better chicken manners. |
 |
| My five-day-old sleeping beauties. |
 |
| Five-days-old and sleeping like she's dead. |
The next chicken post will talk about daily upkeep and preparing for their lovely chicken futures.
No comments:
Post a Comment