if this is your first time to the zoo, please read my very first post found here. If you like what you see, feel free to subscribe. Thanks!

10 January 2014

The Baby Who Stole Christmas

Hope everyone had a very, very merry Christmas, Happy New Year, etc, etc.


This year, Christmas was very different for all of us. We had it at our house for the first time in a very long time and my mom and brother flew out to join us. Oh, it also happened to be baby's first Christmas. But no big deal.


Only ten thousand photos of her were captured.  Most of the gifts under the tree were for her. A normally leisurely day was full of chasing her around, showing her new toys, and keeping fake pine needles out of her mouth.

And can I say it was heavenly!?  She's still too little to appreciate (or demand) all of the trappings of the holiday but old enough to recognize new toys and things.


This year we put the tree up on a big round wooden table to keep it out of her reach. The table was big enough for all of the gifts too, so they too were conveniently out of her reach. I only spent a few quick hours decorating...the mantel got a live pine bough garland and various real and faux hurricane glass items. And...that was about it for decorations...just enough to "feel" like Christmas!

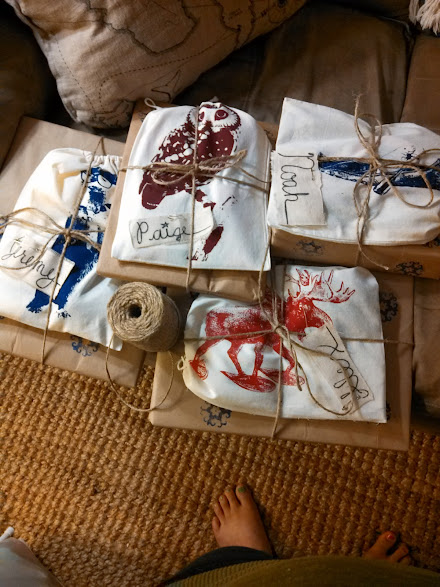
Wrapping paper?  Well, I failed to plan ahead enough to have canvas bags on hand for all of the gifts so some of them were gift-wrapped. Last year I found huge rolls of holiday paper on sale for less than a dollar so they've been lingering in the attic, waiting to be called upon.  I had hoped to avoid using it because I feel like it is wasteful, despite being recyclable, but I'm not sweating it.


Stockings? My goal this year was to not put any junk in the stockings. The adults exchanged only a few small things so the stockings were a main part of the "gift" side of Christmas. The guys got an assortment of things like tiny Moleskine notebooks, favorite candies, a mind-boggling 3D puzzle, and the like. Fun but decidedly not junky.


Gracelyn? I tried...really I did, to not spoil her. She still ended up with far too many gifts so we pared down and set some aside for her birthday this spring.

From my parents, she got an Anatex Play Cube. Made in the USA of mostly wood and metal, and just so fun. Truly a toy that will "grow with her" since it has the spinning alphabet blocks on one side and lots of good "fine motor skills" activities as well.


Lucky baby, right!? Uncle Taylor said it best: "When I wanted to play with a toy this cool, I had to go to the dentist!"

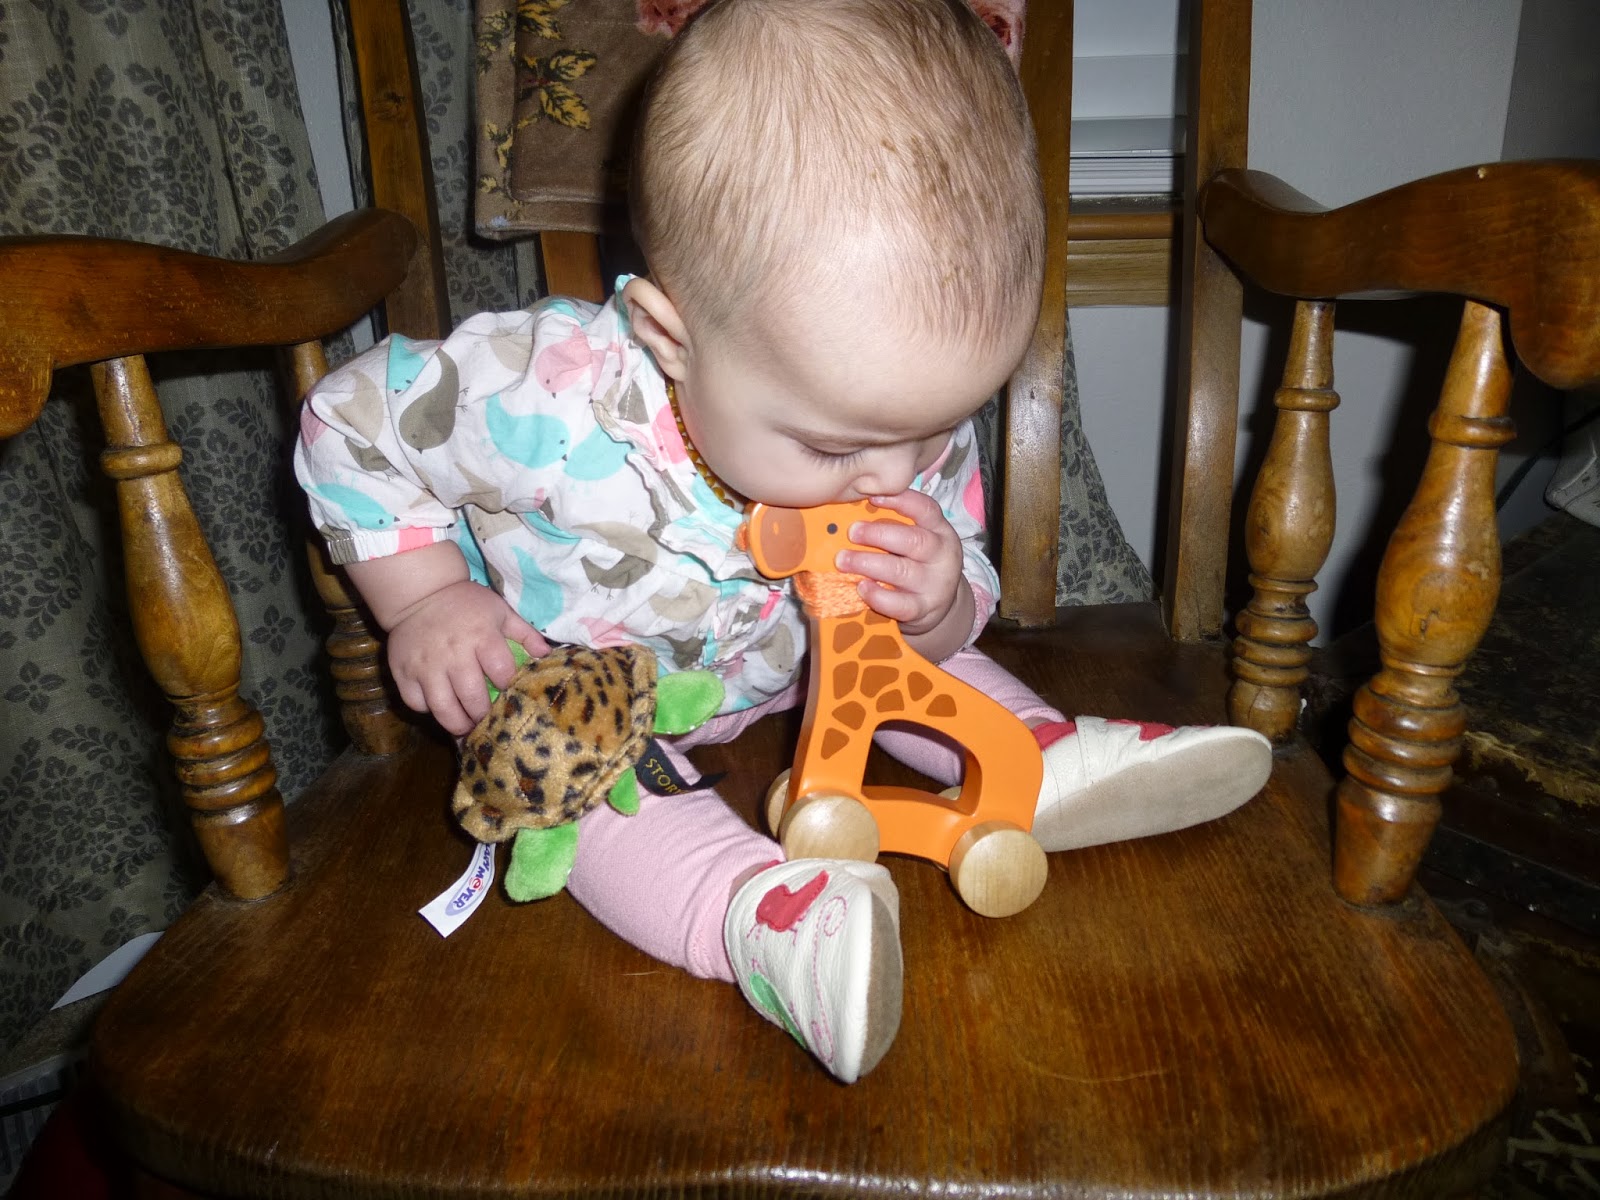
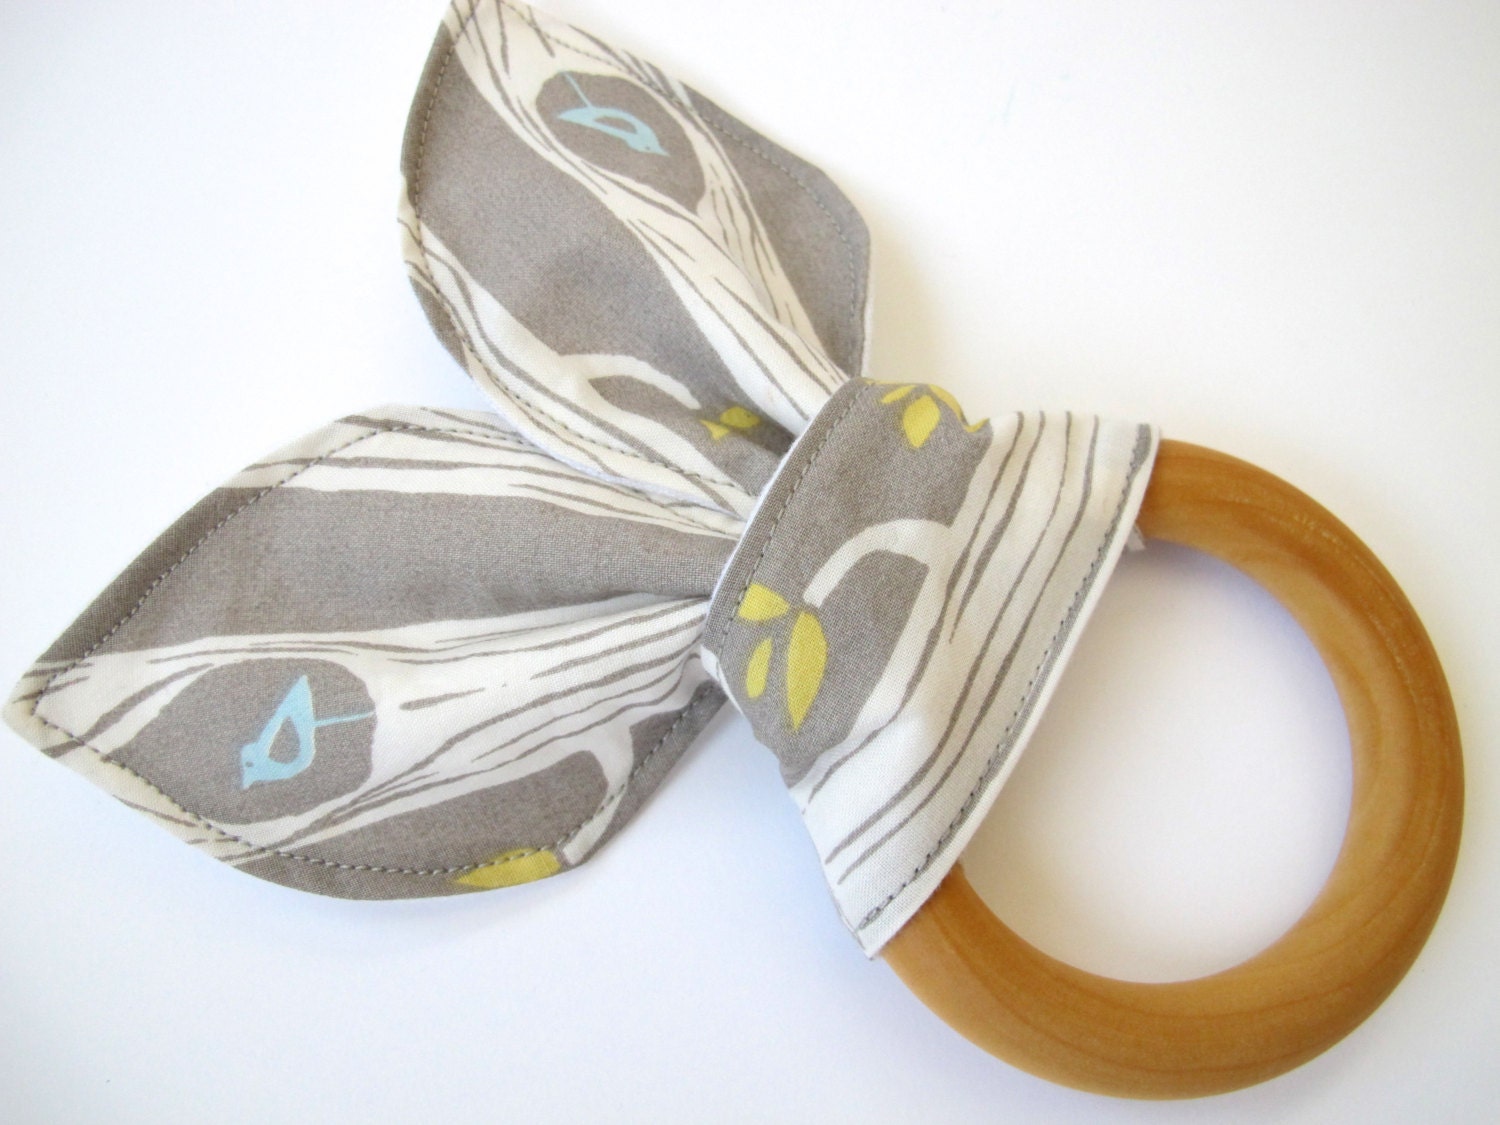
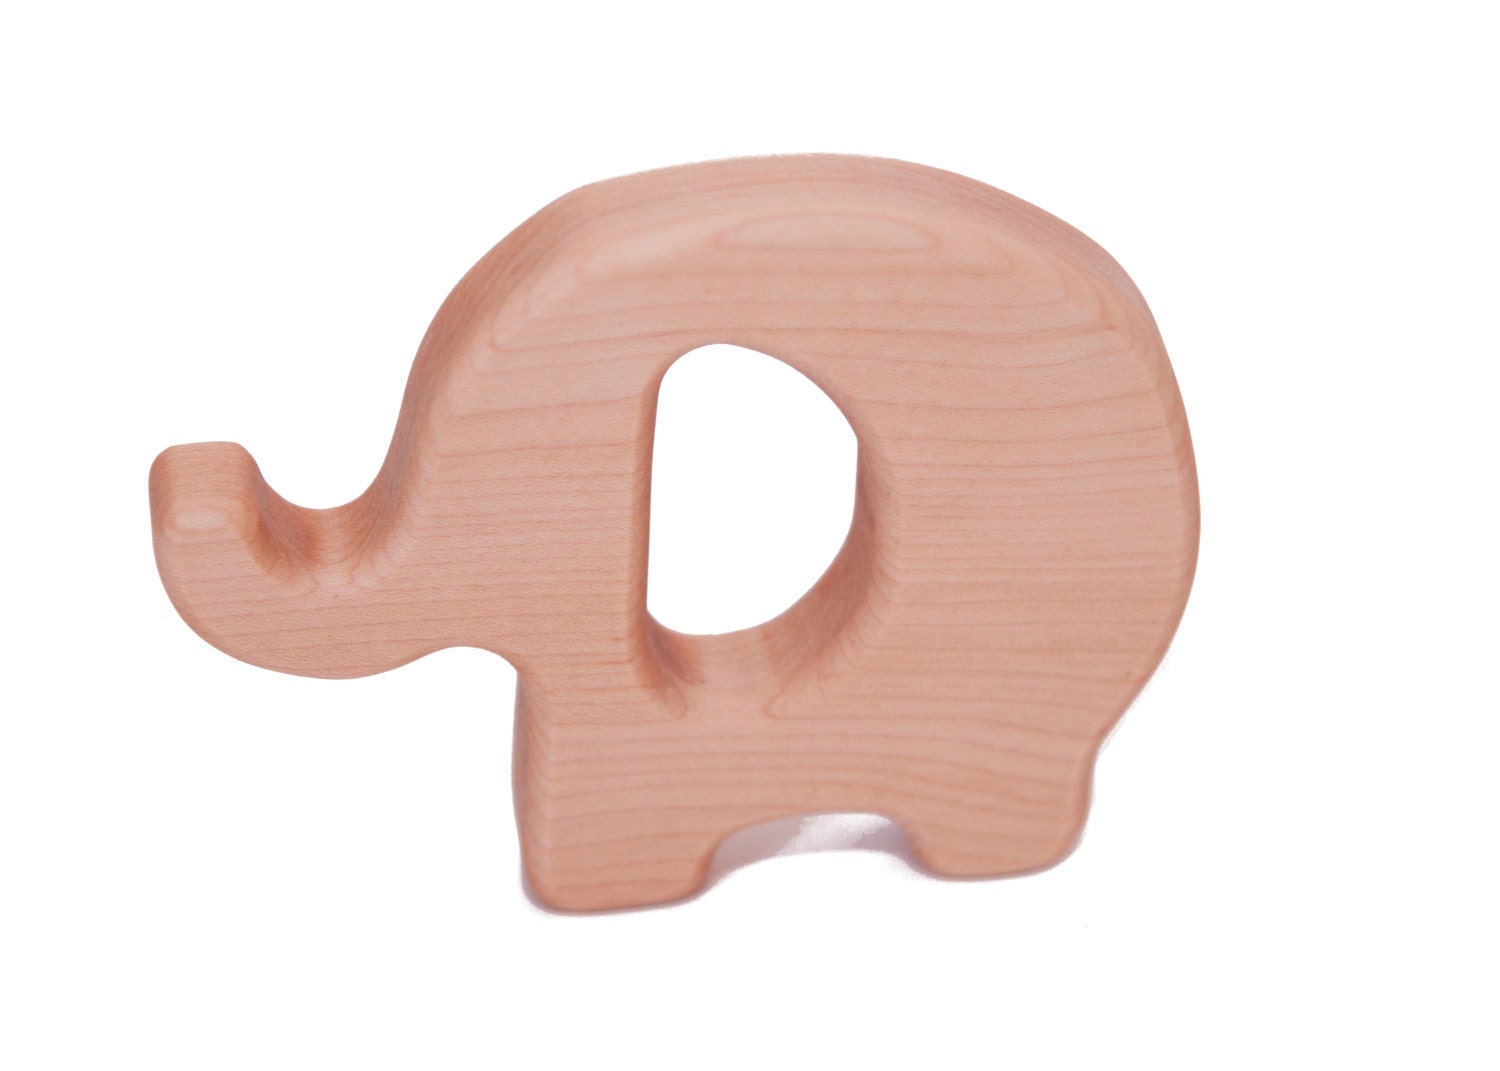
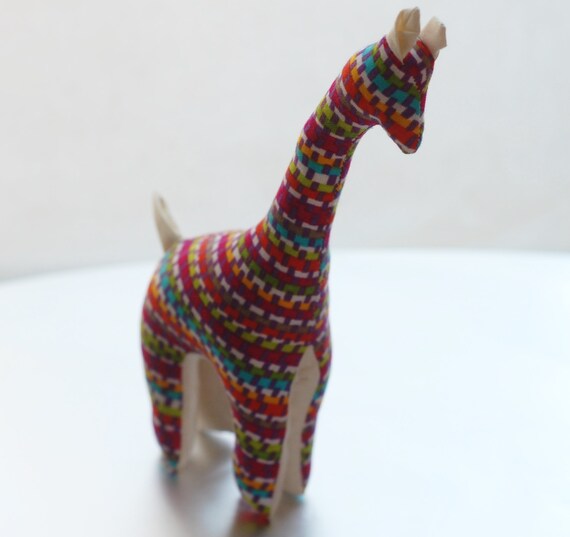
Gracelyn also got a stuffed turtle from the LeVoys which she promptly chewed on and abused as much as possible. She also got a rolling wooden giraffe from my parents and a wooden submarine teether from us.


She also got a few Priddy books from us that have animals that have textures which seems to be her newest fascination. Maybe we can teach her to pet the cheetah gently and thus pet her live dogs gently?


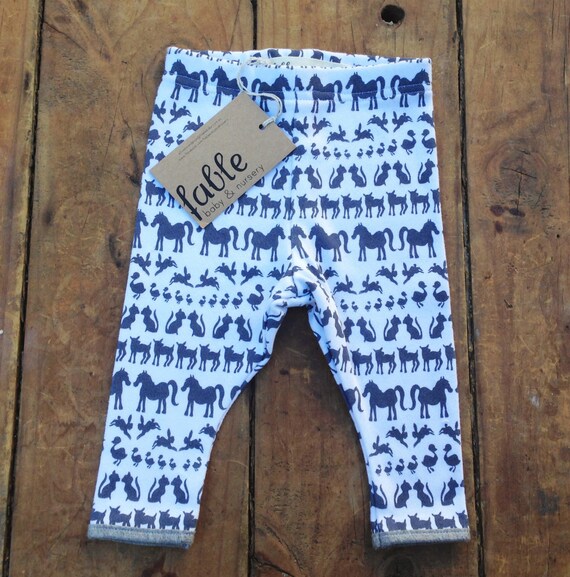
She got three outfits as well...my favorite is a navy blue dress with anchors and her name embroidered on it. The other two were little cotton play clothes.


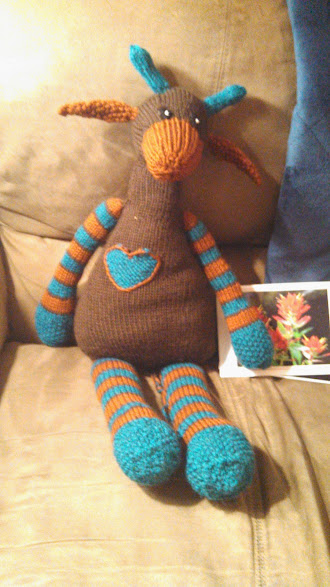
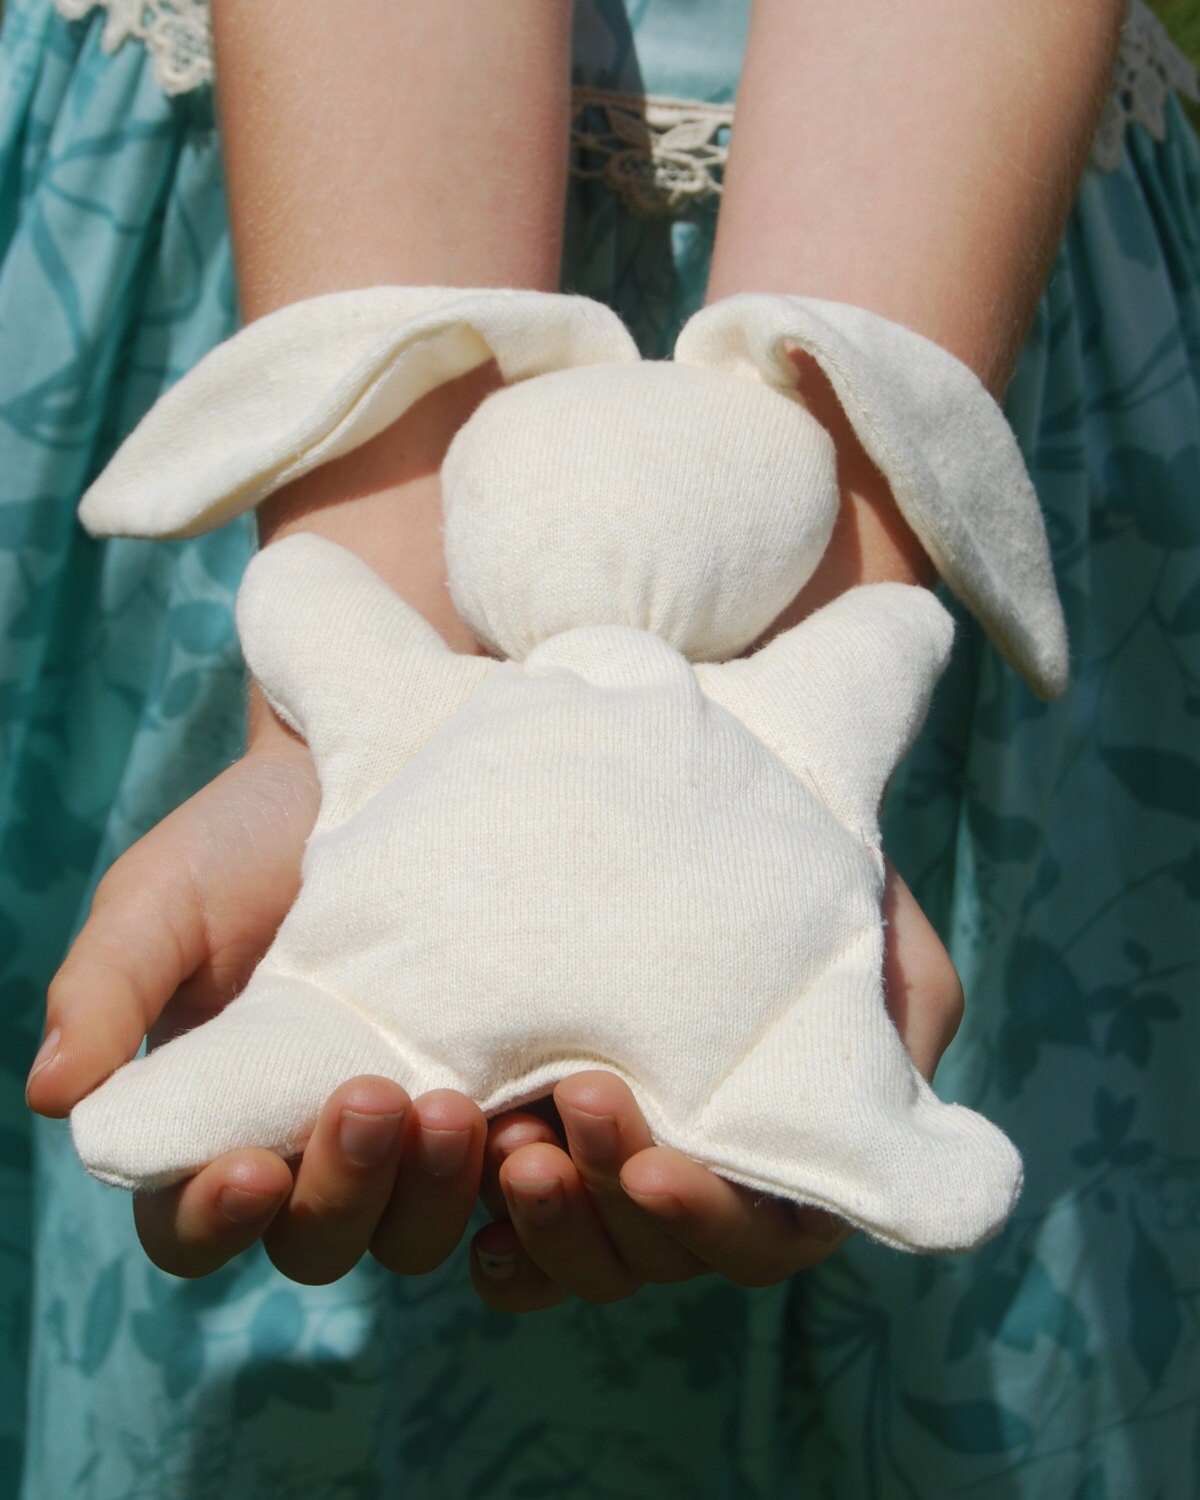
It some how eluded the camera but she got a crazy organic stuffed cat from us as well as the cutest crochet giraffe known to man from our friends in Idaho.


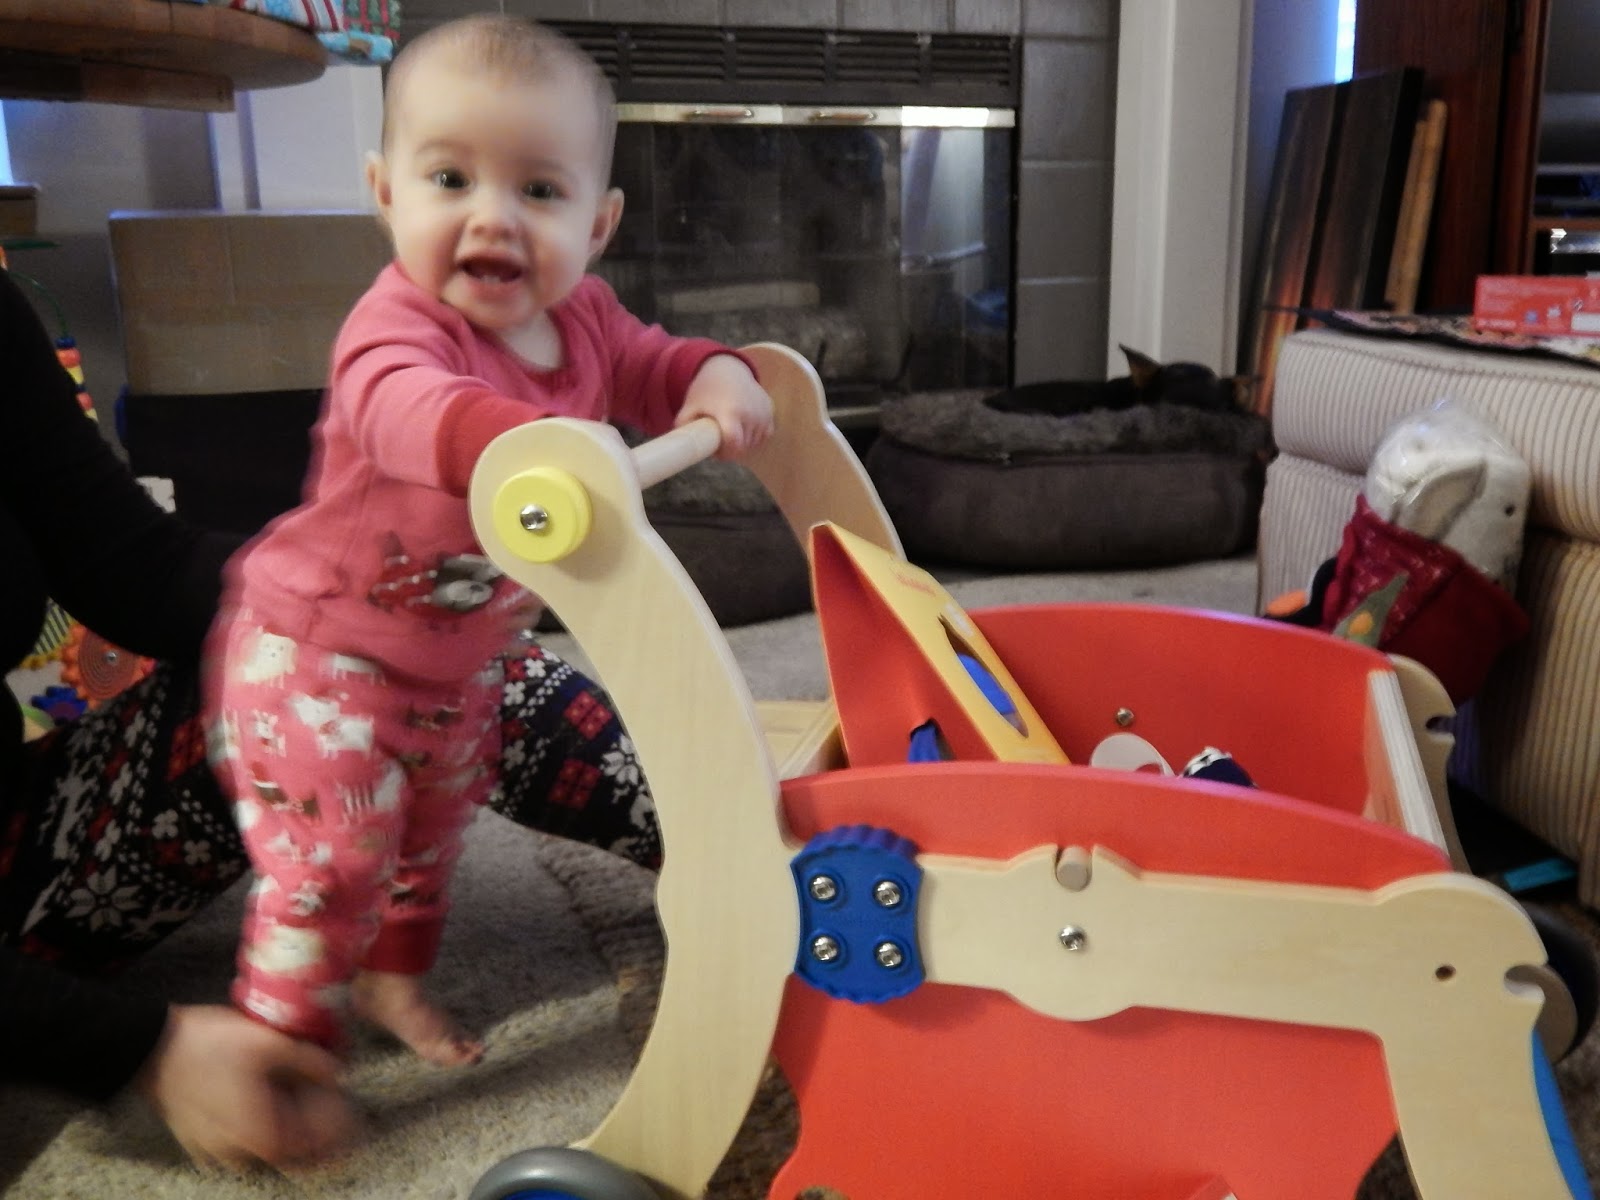
Her big gift from Santa is a 1-2-3-Grow With Me walker toy. It converts to a little push bike and later a shopping cart. Cool, right?!


To be honest, there were other gifts and things that I'm forgetting about because I don't have photographic evidence on hand to remind me AND I'm sleep deprived.

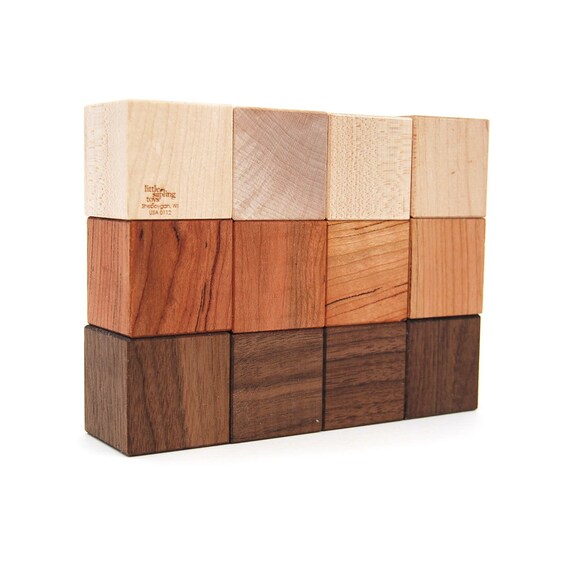
G got some exceptionally cool PlanToys from Don's mom including blocks that she pushes around in her walker and plays with every day.

So, hope everyone else had their heart's stolen this holiday season. Love to you all!

10 November 2013

Maple Brined Pork Roast Recipe

Hi everyone!

Sorry in advance for no photos...I wasn't expecting this recipe to turn out (explained below) so I didn't bother. What a pessimist.

Before I jump into the actual recipe, can I tell you about my relationship with roasts? It's a long and boring one but I'll try to be succinct.

Well, I love the idea of roasts, especially in the crock pot! I love photos of roasts being carved...my mouth is literally watering just thinking about them on Pinterest! I love buying roasts and hefting a huge hunk of marbled goodness into my cart.

But....

I am a terrible roast cooker chef person. TERRIBLE. Can I just say it again? TERRIBLE.  They're either overcooked or dry. Or just weird in texture. Or they will be cooked to perfection and have a tough ligament running down the middle. Or they juices smoke up my house as if to threaten spontaneous combustion. Seriously. Thank GOD for a husband who eats just about anything without protest.

So, want to hear a recent roast story? Got a beautiful beef roast. Got it all dressed up. Got it in the oven. Directions say to check it after 90 min for cooking temp. At 90 minutes, we check, and it was THIRTY DEGREES OVER. Yeah, bad. We carve it, and it was like eating leather.

My other half says, "Can we just be honest and not keep the leftovers?" This is the first time I've ever heard him have anything other than nice things to say about my cooking. My feelings, however, are not hurt because my jaw is too tired from eating a tiny sliver of this old boot to care.  (Don't worry, I didn't throw it away....I stewed it, which softened it up immensely!)

So when I sat down to find a recipe for a pork roast that we intended for other things but then had extra, I wasn't feeling that confident. Hah. I was actually feeling like I wasn't allowed to cook another roast ever again.   But, I stumbled upon this Maple-Brined Pork recipe and figured it was worth a go.

I watched the thermometer with an eagle eye. So did dear husband. We were both pretty invested in not messing it up, I think. PTSD from Mr. Leather Boot Beef Roast, perhaps?

Well it turned out great. We ate the entire roast. I'll tell you that it was only a 1.4 lb roast to make myself feel better, but yeah, we pigged out on the pig roast. Delicious!

Here's the link: http://allrecipes.com/Recipe/Maple-Brined-Pork-Loin/Detail.aspx?event8=1&prop24=SR_Thumb&e11=boneless%20pork%20roast&e8=Quick%20Search&event10=1&e7=Home%20Page

And here's what I did:

Ingredients:
-1.4 lb boneless pork sirloin roast
-2 cups water
-1/3 cup salt
-1/4 cup maple syrup
-1.5 tbsp minced garlic
-2 tbsp chopped fresh ginger
-1 tsp dried rosemary
-10 turns of the pepper mill
-1 tbsp olive oil
-1 tbsp dijon
-1 tbsp maple syrup again

Directions:
Mix everything except the last three ingredients together in a bowl. Cover and refrigerate 8-10 hours. I wouldn't go over 10 or it'll get salty.

Heat oil in dutch oven and brown on all sides, about 10 min total. Preheat oven to 325F.

Use a DAMMED THERMOMETER and pull it out at 100F. Combine the dijon and maple syrup and spoon over roast. Put back in oven until roast reaches 145F. Don't get distracted. Don't forget about it. Just don't.

Remove from oven. Let sit for a few minutes. Carve and pig out!

14 October 2013

Soup in a Pumpkin!


Well, fall is my favorite. Besides sweaters and no shaving, I'm in love with all things pumpkin. (Except for pumpkin lattes. Ick.) Anyways, pumpkins are for more than carving! We eat as much pumpkin as we can and then we freeze a bunch more.

This soup in a pumpkin was a fun recipe I tore out of a magazine. It might've been "Redbook" but I'm honestly not sure. Anyways, I almost never follow a recipe as written, so I'll share the magazine page and then share how I did it. Happy Harvest, everyone!


"Original recipe" from unknown magazine
Ingredients:
1 tbsp unsalted butter
1 tbsp olive oil
2 small sweet onions, roughly chopped
1 large spoonful minced garlic
3 celery stalks, roughly chopped
1 large tomato, seeds discarded, roughly chopped
2 tsp dried thyme
2 stocks fresh rosemary
Salt and pepper
2.5 cups stock or bone broth (I used homemade chicken bone broth)
1/4 cup heavy cream
2 sugar pumpkins (2-3 lbs each)
*This is one of those recipes that is super easy and affordable to go all organic with. Except the darn pumpkins. Organic pie pumpkins are elusive and far pricier than they're worth.


1. In a dutch oven, heat oil and butter over medium. Add onions, garlic, celery, tomato, thyme, rosemary, salt, and pepper.  Cook until onions begin to be translucent (8-12 min)
2. Add in broth. Boil. Remove from heat. Slowly stir in cream. Preheat oven to 375F.
3. Carve up the pumpkins....cut the top off and clean out insides using a spoon. This is pretty messy, especially if you have big hands, so you've been warned.
4. Set pumpkins on a cookie sheet. Season insides with salt and pepper. (I found this sort of impossible so I shook a little of each inside and said, "Whatever!") Ladle soup into bowls carefully.  It's molten. Discard the rosemary.
5. Put the lid on the pumpkin and roast for 60-90 minutes, just until flesh is knife tender. If you let them go any longer, the entire pumpkin turns to mush and molten soup goes everywhere.
6. EAT. So delicious. Scoop out pumpkin flesh with each bite of soup and be happy.


27 September 2013

How to Braid Your Woven Wrap

Quick photo tutorial on how to braid a woven wrap.

Why would you want to braid your wrap? Well, the act of looping and pulling helps to "break it in."  You'll notice the more you braid, the tighter your braid gets....proof your wrap is softening up!

STEP 1: Tie a knot at one end that pinches a loop
See the short tail? That was the "end" I tied closest to. The long  tail that goes out the bottom of the photo is the rest of the wrap.

STEP 2: Stick your hand through the loop you just made. Ideally you want the loop to be *just* big enough for your fisted hand to move through. No bigger, no smaller. If you're loop is WAY off, adjust, otherwise, leave it and try for a better size next time because it's not that vital.  Now, stick your hand through the loop.


STEP 3: Grab the long tail of your wrap. Keep a hold of it, and pull your hand back out of the loop. (Sorry for the blurry photos.) 


The next photo shows the new "loop" you'll have made by pulling only part of the long tail through.

STEP 4: Put your hand through the new loop you just formed, grab the long tail, and repeat until you run out of wrap!
This is what a finished "braid" looks like on a size 4 wrap:

The end of the wrap is just sort of tucked under the braid at the bottom in this photo. To unbraid, just grab that loose end and pull! The whole thing will come undone.

One last photo....the wrap on the left is a barely broken-in size 4. The one on the right is a very broken in size 6. Due to fiber content, the wrap on the left will never make a braid as small and tight as the one on the right, but it will make a tighter braid than pictured and will start to lay flatter when braided.


22 September 2013

Wishlist for G

Hi everyone!

Just a fair warning, this post is not for you. Hah! Well, it might be if you were planning on asking us what we wanted for Christmas. If not, then that's fine too. Don't feel obligated to get us a gift now just because I shoved our wishlist in your face.

Also, I'll be updating this periodically so apologies in advance for making you read this over and over.

For those of you who are going to ask what we want for Xmas, the truth is that we want things for our daughter, for the most part. 

The next truth is that we are a wee bit picky.  Next, I'm going to tell you why we're picky. It doesn't really make up for the fact that we're picky, but maybe it'll make you less annoyed by our pickiness.

1) G is so young she doesn't care what her toys and possessions are made of. She isn't coveting a Barbie or other toy made of plastic. As long as she doesn't care, we don't need to be giving her things that are toxic.

2) G still puts everything she grabs in her mouth. Again, why bother with things that are toxic?

3) We live in a lovely house with almost no storage. We don't have room for junk or things we don't love or use. I know that sounds blunt and harsh but such is the way of the world.

Ok, glad we got that out of the way.

Next up is a general overview of what we love and use:
*Unfinished, sanded hardwood toys and teethers. They can be finished with beeswax or other organic type waxes and even water-based food dyes.
*Food grade silicone
*100% cotton items. Organic is ideal if it's considered a "teether" but plain old cotton will do just fine.
*Made in the USA! Not only is it great to support our local economy, but it's safer.

Things we avoid:
*Plastics of any kind. Even if the package says "BPA free" there are still other chemicals that leach out.
*Microban and other antimicrobial coatings
*Polyesters (which are often doused in flame retardants)
*Anything scented or dyed with unknown dies. RIT dye is NOT safe for babies, for example.
*Toys "older than her age" like play makeup.
*Toys that use batteries, light up, or make annoying sounds. She's going to want them sooner or later so let's not rush into the annoying toy phase any earlier than necessary!
*And, of course, anything that is a potential choking hazard.


OK, so now I'm sure you're thinking, "What a party pooper! How will I find anything that makes this nincompoop happy?"  So now I'll give you some examples!   **FAIR WARNING** the links I am providing are to goods that are usually handmade, often on etsy. These things are NOT cheap. Please don't get 10 cheap gifts when you could get one awesome, handmade in the USA, organic gift. We are all about quality over quantity for sure. And we totally know the value, monetarily and morally, of the gifts. Also, clicking on any of the etsy photos should take you to the listing, and prices exclude shipping.

First up: a wooden teether with organic cotton "ears."    I think these are adorable. We have a similar one that doesn't have ears. Instead it has a pocket that holds ice cubes. Genius! I would love one more so I can wash one and still have one for her to play with.

From Bunbunbabydesigns on etsy. Organic cotton and organic maple wood ring. $12

From Rewoodtoys on etsy. Wooden teether. $13. We love any thing like this! 


Next up: organic cotton "stuffed animals". I love the clean, simple aesthetic!

From Soulrole on etsy. Organic cotton bunny. $15
From StarBrightBaby on etsy. Organic cotton giraffe. $18


Next, neato toys for when she's a bit older:

From SmilingTreeToys on etsy. Two sided wooden puzzle $15.


From LittleSaplingToys on etsy. Organic wooden blocks. $15. Can I say these are my absolute favorite? If anyone buys these, PLEASE let me know because I think I'm getting these for her for Christmas!

Also from LittleSaplingToys. Stacking rainbow. $40. LOVE! 


Next up: Quirky, fun clothing. I'm particularly crushing on bold, modern prints!
From FableBaby on etsy. Organic leggings, handprinted. $43. (Ouch on the price!)
From downhomeamy on etsy. Organic bibs. $19.95. (I'm crushing on all of her bibs SO hard. I might have to splurge on one or two if she's eating solids before Christmas.)
From Zmunki on etsy. Baby kimono!!!  $25


Stuff for mama and papa:
From TheVintageHoneyShop on etsy. Teething necklace. $18. (I love these. G rips my shirts or hair while she eats so these have been a real life saver. And they're just lovely, aren't they?)

Gifts for when she's much older:
From CakeInTheMorn on etsy. Toy map. $10. HOW CUTE.

Any felt pretend play toys! I can't wait to play with these myself, hahaha. These are all from CreationByM on etsy with varying prices. Tell me these aren'te the cutest, most creative toy foods you've ever seen!!!!!


OK, OK. I'm done with the food! For now.


19 September 2013

Be Better

When you know better you do better
-Maya Angelou

Parenting should really just be called, "Making lots of choices in a sea of overwhelming information that everyone else will judge you for no matter what you do."

Let's face it, no two people parent alike. Even spouses have big differences. We should celebrate the fact that kids are all unique because of how they are parented. Instead, as parents, we judge one another, disrespect individual choices, and attach guilt to things that are truly none of our business.

I'm an outspoken mama with big opinions. I know I come across as overly confident, but honestly, that's because I don't do wishy-washy or uncertain very well. It's a side of me that stays off the blog...

I'm also quite an extremist according to some, and I'm OK with that. I don't wear any of my choices like proud badges, really, I don't. If I blog about them, it's for the sake of education. I get lots of questions and a few "Why the hell would you do that?!" comments, so I blog. It hope they help people who are wondering how/why I do somethings, and I don't blog to defend myself.

OK, that said, there are some parenting choices that completely pain me to see other parents make. I don't say anything unless something they're doing is blatantly illegal. I even bite my tongue if what they're doing is potentially dangerous because their choices are none of my business, in the end. 

All I ask is that you do your research, don't rely on what you find on Facebook or even a cursory Google search, and ignore your friends' tidbits for the most part. I know it takes more time than listening to comments on facebook, but isn't your kid and family worth more than that?


Here are the "big" ones for us that I urge everyone to really research:

1) Car seats: Make sure they're properly installed, make sure you're fastening the harness correctly, and make sure you are confident in your choice to be rear-facing or front-facing.

2) The products you bring into your home and use on your children:  Just because you get it from your doctor or from Target doesn't mean it's safe and non-toxic. If you can't pronounce an ingredient, leave it be. Babies have a much higher surface area to volume ratio meaning things absorbed in their skin affect them much more. 


Fun facts:
I learned the prenatal vitamins that my doctor had prescribed when I first was pregnant contained nearly illegal amounts of LEAD. Seriously.

BPA isn't the only dangerous chemical that leaches out of plastics. Minimize plastic use at all costs. Don't let your kids chew on plastics. There are so many other options. Avoid using plastics in situations with thermal flux such as heating leftovers or a water bottle left in a car.


16 September 2013

Monday

I keep this blog as true to myself as I can. I'm an upbeat, zany mama with a crazy sense of humor and a very short attention span.

So I was tempted to pen a snarky blog about the amazing hipster dinner I made last night and leave it at that, but Google is pissing me off royally by not loading my photos, and honestly, it's not Google's fault.

The fact of the matter is that I'm upset today and looking for someone (something) to take it out on.

Here's why I'm upset.

This is what I woke up to:

ONE GUNMAN IS DEAD and police say there may be two others at large in the shooting of at least 10 people — including 'multiple victims that are deceased'— at Washington Navy Yard at a building housing the Naval Sea Systems Command Headquarters, above. The AP is reporting six fatalities, but there are conflicting reports on the number of victims, and the number of gunmen. -FOX NEWS

Yes, people are murdered, gunned down, every day. Probably every minute. But I just sent my husband off to work after saying some not-so-nice things to him in a not-so-nice tone of voice. I sent him off to work to the Navy Shipyards here on the West Coast.

You might say, "Andria! Washington State is not Washington DC. Be happy! He's fine!"  And I say to you this:

"Every morning I see him off to work. Every morning, I tell him that I love him and silently hope he'll be home sooner than later. I never, ever entertain the thought that he might not come home. I never consider the fact that perhaps one of his own colleagues might somehow bring a gun into an area with relatively high security measures to gun down fellow sailors. And now? How can I ever send him out the door without thinking about that? My small sense of ignorant happiness is pretty much gone. I can't help but sit here, stunned, and think that he's probably safer underway than walking around his offices on land. I can't help but add "gunman" to the list of things I have to be afraid of for him.

I'm afraid of a lot of things. Maybe I'm not afraid of more things than the average person, just different things than the average person.

Speaking in public? No problem.

Needles? Bring it on.

Driving in pouring rain during rush hour in downtown Seattle? Turn up the radio!

Flying? Love it!

Heights? Please, let's go up on the roof!

However, I'm terrified of Halloween decorations, the thought of a tsunami washing over my house, wet things touching my skin, clowns, car accidents, dirty velcro (seriously), not having steak in the freezer or fridge, getting a paper cut on my eyeball, and most of all, losing my loved ones.

The things I just listed? I'm not scared of them. I'm TERRIFIED of them. They occupy my thoughts and my dreams. They make my palms sweat.  I cried walking into Goodwill last year when a goblin thing was motion-activated and had glowing eyes and started moving. I yelp in pain if I step on a wet towel left on the floor. I flinch every time I take a bill out of an envelope. I'm subscribed to NOAA alerts that let me know every time there's an earthquake and if a tsunami might happen as a result.

I cope by breathing, hugging my dogs or my baby, and by stress eating. (Again, not a joke.)  I also cope by pretending none of those things exist or can ever happen to me. Yes, I get by because I have the "teenage-not-ever-gonna-happen-to-me-so-what?!" attitude. 

Things that make me realize that my fears actually COULD happen to me really shake me and mess up my day.

The point of this whole weird, downer blog isn't to make you depressed or want to not be my friend anymore because I live on Planet Weirdo.  I just want you to hug your loved ones, never take for granted that they'll come home, and for heaven's sake, stop posting horrid news stories on your Facebook!

I'm off to eat my second and third breakfasts of the day while simultaneously hugging my dogs and baby. 


22 July 2013

Long Time, No See, BIG CHANGES!

Hello blog land,


I see my last post was on 4 April 2013. Since then, we've had a baby! Started landscaping!  Replaced a sewer pipe! And redid our back deck. Whew.


Baby G and her dad on the back deck


Honestly, I'm not quite ready to blog about baby other than to say that baby G is the awesomest baby to grace planet Earth and there will be many blogs about her soon.

So off to the other fun topics. The landscaping/sewer pipe are in progress and not very well documented because I'm terrible at remember to take pictures, so let's talk about the deck. :)

When we moved in, there was a 10ft by 12 ft wooden deck on the back of our house, accessible via the sliding glass door off of the kitchen/dining. On the right side of the deck, there were three stairs down to a small square of concrete and the back yard.

When I first saw the deck, I fell in love with it. After we moved in, love quickly downgraded to "like" and then to "get rid of this thing!"

Here's why we didn't love it:

1) Maintenance. Wood decks require lots of maintenance. If ours had been in good condition, we probably would've been willing to do the work, i.e. power wash it and either paint or refinish it. BUT, the railings were horribly wobbly and the corners that were most exposed had some rot. (Funny story: when we moved in, before we had our fence, I tied the dogs to the railing and they ripped a huge chunk of it off. Oops.)

2) Size: 10x12 was really awkward. Not quite big enough for a large table and chairs unless you wanted to perpetually be walking around them. Also not big enough for the dogs to have a place to sunbathe unless I folded the table and chairs up.  Also, we needed to store other things under the eave such as propane tanks and some random gardening stuff.  And the grill was down in the yard which worked out alright but wasn't fabulous.

So here's what we brainstormed:

1) Have the existing deck get a facelift (new railings and new floorboards) and then expand it. The bids for this work were over $3,000.

2) Deal with it as-is. Nope. I really wasn't OK with it as-is. And I wasn't willing to put in the work to clean/paint it when it was rotting and falling apart.

3) Replace it with something cheaper. But what?

Well, we found out that replacing it with concrete was going to be cheaper. But was it going to be uglier?  In my opinion, no. As you'll see we found a contractor who did decorative concrete so it wouldn't just look like a big grey slab.

Believe it or not, the concrete work came in at about 60% of what the deck repair bid came in at. Sheesh! And concrete is muuuuuccchhh lower maintenance. We should seal it every few years and clean with mild cleaner when mishaps occur. No sanding. No staining. Yay!
My sunbathing beauties on our ugly deck.
The photo above was taken out the back door. As you can see, it's pretty weatherbeaten. And the three dogs all but take up the entire space. Please don't mind the hammock stand or any of the other detritus.

First we saved ourselves a few hundred dollars by tearing out the deck ourselves. And when I say "we" I mean Don and a friend. It's great to have friends! The guys made quick work out of it. They ninja kicked down the railings, then cut it in thirds. They shoved the thirds in the back of a huge pickup and that was that! All that was left was all the rocks/trash from under the deck, the stairs, and the little concrete slab at the bottom of the stairs.

Right after the deck was torn out! The stairs are not in their original position.

Next, we decided that we wanted to salvage as many of those dark grey rocks as possible to landscape the south end of the house with. They aren't pretty but they're free! Don pulled the landscape fabric out from underneath them and then used a big rake and shovel to put them in buckets for later. Hard work, husband!

Mr. H probably won't be happy about having his photo up but I can always delete it, right?

About halfway done collecting rocks.
All done rock collecting. The dogs were exhausted just watching him work.

There was a fairly significant drop from the back door to the ground with the deck gone. I didn't measure it, but maybe 30 inches? Don affixed a ramp covered in shingles so the pups could traverse it without breaking their necks. He originally built the deck when Barley blew his knee (oh yes, forgot that happened too, since I last blogged!) and it went off of the left side of the deck since he wasn't supposed to use stairs. You can see a sliver of it in the left side of the photo above.


All that was left was for the contractors to work their magic. And magic it was!! They leveled, framed, poured, leveled and smoothed. A lot of work and precision! But the real magic was when they did the stamped border. It was an elaborate process from adding the coloring and the stamping to hand troweling to make it look like stone. I couldn't help but just stare out the window and be in awe of how art-like it was. (And how time consuming it was as well!)  It definitely added a few hundred to our final budget but I think it was very, very important since most people will tell you not to get rid of the deck for resale purposes. No, a concrete patio is not as inviting as a deck, but a concrete patio with a beautiful border and some planter boxes is the next best thing.


It's framed!


They still haven't removed the framing but we are using it and loving it.

Ta da!

A close-up of the corner. We went with exposed aggregate for the main part because it's more durable than other finishes (read: can be pressure washed!) and isn't slippery when wet. It also stains less and hides what stains it does get.


A close-close-up of the border.


Snazzy, no? Oh, and I forgot to mention that the concrete patio is nearly triple the size of our old deck!

All that's lift is figuring out how to arrange things on it. And maybe conning Mr. H into buying me new patio furniture! Hah! Maybe not.

04 April 2013

Mom's Cheesecake Cupcakes

Ingredients:
-3 8oz package cream cheese
-1 cup sugar
-5 eggs
-1/2 tsp vanilla

-12 oz. sour cream
-1/4 cup sugar
-1/4 tsp vanilla


Directions:
1. Bring all ingredients to room temperature. Line muffin tins with 20-24 liners.
2. Preheat oven to 300F. Mix 1 cup sugar with cream cheese in mixer on medium.
3. When well blended, add eggs and vanilla. Blend until mixed together. Batter will be lumpy.
4. Pour into cupcake liners about 3/4 full. I find a medium-sized ladle works well.
5. Bake for 25-30 min until tops are a bit puffy and lightly golden brown.
6. While they bake, mix up topping (the remaining three ingredients in the list).  I usually do a cursory rinse of the beater and mixer bowl and mix up the topping in there.
7. Remove cheesecakes from the oven. Let cool for 5 min and top with 1  tbsp of the topping.
8. Put back in oven for 5 min.
9. Allow to cool in muffin tins. Once cooled, remove from tins and refridgerate.
10. Garnish with cherry or other berry pie fillings.